
Your WiFi network is like the front door to your digital life. Unfortunately, many people leave it wide open without realizing it. If you’re using the default settings that came with your router, you’re basically inviting trouble.
Don’t worry though – protecting your network isn’t rocket science. With a few simple changes, you can lock down your WiFi and keep unwanted visitors out. This guide will walk you through everything you need to know, from basic password changes to advanced security features.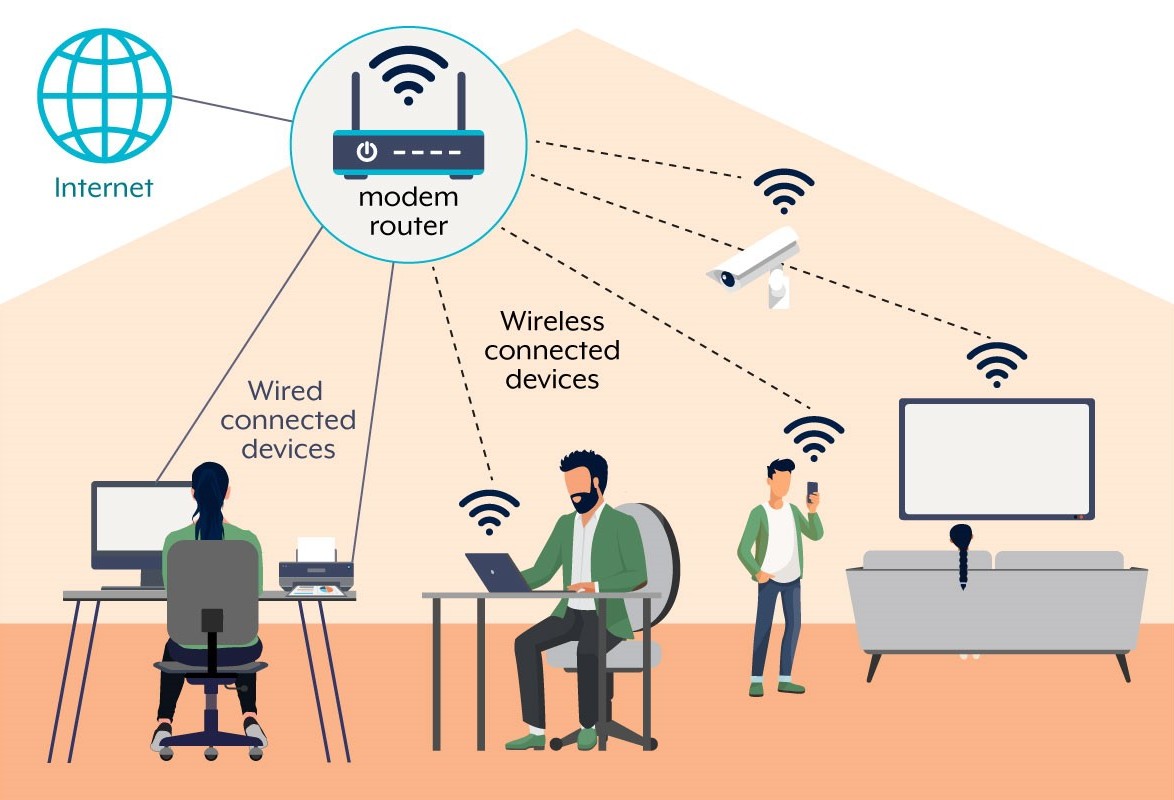
Why WiFi Security Matters
Think about everything connected to your network right now. Your laptop, phone, smart TV, maybe even your doorbell or thermostat. Each device is a potential entry point for someone with bad intentions.
Here’s what can happen if your network gets compromised:
- Someone steals your personal files and photos
- Hackers access your bank accounts and credit card information
- Your internet speed slows to a crawl because neighbors are using your connection
- Criminals use your network for illegal activities, which could get traced back to you
- Someone gains control of your smart home devices
The good news? Most attacks can be prevented with basic security measures that take less than an hour to set up.
What You’ll Need Before Starting
Before we jump into the protection steps, make sure you have:
- A computer or smartphone connected to your WiFi network
- Your router’s admin password (often found on a sticker on the router itself)
- About 30-45 minutes of time
- A pen and paper to write down your new passwords
If you can’t find your router’s admin password, you can check our router default passwords guide or reset it if needed.
Step-by-Step WiFi Protection Guide
Change Your Default Router Password
This is the most important step. Your router comes with a default admin password that’s either printed on the device or something generic like “admin” or “password.” Hackers know these defaults, so changing it should be your first move.
- Open your web browser and type your router’s IP address in the address bar (usually 192.168.0.1 or 192.168.1.1)
- Enter the current admin username and password when prompted
- Look for “Administration,” “System,” or “Router Settings” in the menu
- Find “Change Password” or “Admin Password”
- Create a strong new password with at least 12 characters, including numbers and symbols
- Save the changes and write down your new password somewhere safe
Not sure what your router’s IP address is? Here are the most common ones by brand:
| Router Brand | Default IP Address | Default Username | Default Password |
|---|---|---|---|
| Netgear | 192.168.1.1 | admin | password |
| TP-Link | 192.168.0.1 | admin | admin |
| Linksys | 192.168.1.1 | admin | admin |
| ASUS | 192.168.1.1 | admin | admin |
| D-Link | 192.168.0.1 | admin | (blank) |
Pro tip: If you can’t access your router at 192.168.1.1, try 192.168.0.1 or 10.0.0.1. Different brands use different default addresses. If you’re still having trouble, check our guide on how to find your router’s IP address.
Update Your WiFi Network Name and Password
Your network name (SSID) and WiFi password are what devices use to connect. If you’re still using something like “NETGEAR_2.4G” with the password printed on your router, it’s time for an upgrade.
- In your router’s admin panel, look for “Wireless,” “WiFi Settings,” or “WLAN”
- Find the “Network Name” or “SSID” field
- Change it to something unique, but don’t include personal information like your address
- Locate the “WiFi Password,” “Passphrase,” or “Network Key” field
- Create a strong password with at least 15 characters
- Save the settings and restart your router
- Reconnect all your devices with the new password
Avoid using common words or personal information in your network name. Something like “PrettyFlyForAWiFi” works better than “JohnSmith_WiFi.”
Enable WPA3 Security (or WPA2 if WPA3 isn’t available)
WPA3 is the latest and strongest security protocol for WiFi networks. If your router doesn’t support it, WPA2 is still much better than the older WEP or no security at all.
- In the wireless settings section, look for “Security Mode,” “Authentication,” or “Encryption”
- Select “WPA3-Personal” if available, or “WPA2-Personal” as your second choice
- If you see options like “WPA2/WPA3 Mixed,” choose that for compatibility with older devices
- Make sure “AES” is selected as the encryption method
- Save the changes
Never choose “WEP” or “Open” security. WEP can be cracked in minutes, and open networks have no protection at all.
Turn Off WPS
WiFi Protected Setup (WPS) was designed to make connecting devices easier, but it actually creates a major security hole. Hackers can exploit WPS to break into your network even if you have a strong password.
- Look for “WPS,” “WiFi Protected Setup,” or “Quick Connect” in your router settings
- Turn off or disable WPS completely
- If you see separate options for “WPS Push Button” and “WPS PIN,” disable both
- Save the changes
You might need to manually enter your WiFi password on new devices instead of using the WPS button, but the extra security is worth it.
Update Router Firmware
Router manufacturers regularly release firmware updates to fix security vulnerabilities. Running outdated firmware is like leaving your doors unlocked.
- In your router’s admin panel, look for “Administration,” “System,” or “Router Update”
- Find “Firmware Update,” “Router Update,” or “System Update”
- Check your current firmware version and note it down
- Click “Check for Updates” or visit your router manufacturer’s website
- If an update is available, download and install it (this usually takes 5-10 minutes)
- Don’t turn off your router during the update process
Some newer routers can update automatically. If you see this option, turn it on to stay protected without having to remember to check manually.
Enable Firewall Protection
Your router’s built-in firewall acts like a security guard, deciding what traffic can enter or leave your network.
- Look for “Firewall,” “Security,” or “Access Control” in your router settings
- Make sure the firewall is enabled or turned on
- Set the security level to “High” or “Maximum” if given options
- Enable “SPI Firewall” or “Stateful Packet Inspection” if available
- Turn on “DoS Attack Protection” if you see this option
- Save your changes
Set Up Guest Network
A guest network gives visitors internet access without letting them see your main devices or files. It’s like having a separate entrance for guests.
- Find “Guest Network,” “Guest Access,” or “Visitor Network” in your router settings
- Enable the guest network feature
- Give your guest network a different name from your main network
- Set a password for the guest network (yes, even guest networks need passwords)
- Set time limits if available (like 24 hours for automatic disconnection)
- Disable “Allow guests to access local network” if you see this option
- Save the settings
Advanced Security Settings
Once you’ve covered the basics, these additional steps can provide even stronger protection:
| Setting | What It Does | Recommended Action |
|---|---|---|
| MAC Address Filtering | Only allows specific devices to connect | Enable for high-security environments |
| Access Control | Blocks websites and sets time limits | Useful for families with children |
| VPN Server | Secure remote access to your network | Enable if you work from home |
| Remote Management | Allows internet access to router settings | Disable unless absolutely necessary |
Signs Your Network Might Be Compromised
Watch out for these warning signs that someone might be using your network without permission:
- Your internet is much slower than usual, especially during specific times
- You see unknown devices in your router’s connected device list
- Your data usage has increased significantly without explanation
- You receive notifications about logins from unfamiliar locations
- Your router’s lights are more active than normal when you’re not using the internet
- Websites you visit are acting strangely or redirecting to unexpected pages
If you notice any of these signs, change your WiFi password immediately and check your router’s security settings.
Troubleshooting Common Issues
Can’t Access Router Settings
If you can’t get to your router’s admin panel, try these solutions:
- Make sure you’re connected to your WiFi network, not mobile data
- Try different IP addresses: 192.168.1.1, 192.168.0.1, or 10.0.0.1
- Look for the correct IP address on your router’s label
- Reset your router by holding the reset button for 10 seconds (this will erase all settings) – see our complete router reset guide for detailed steps
Devices Won’t Connect After Changes
This usually happens when you change security settings. Here’s how to fix it:
- On your device, “forget” the old network connection
- Search for WiFi networks and select yours
- Enter the new password exactly as you set it
- Make sure your device supports the security type you chose (some older devices don’t work with WPA3)
Router Keeps Losing Settings
If your router forgets your changes after restarting:
- Make sure you click “Save” or “Apply” after making changes
- Wait for the router to fully restart before making additional changes
- Your router might be failing – consider replacing it if it’s more than 5 years old
Maintaining Your Network Security
Protecting your WiFi isn’t a one-time task. Here’s what you should do regularly:
- Check for firmware updates every 3 months
- Change your WiFi password every 6-12 months
- Review connected devices monthly and remove any you don’t recognize
- Monitor your internet usage through your ISP’s app or website
- Replace your router every 4-5 years or when it stops receiving security updates
Consider setting a reminder on your phone to check these settings quarterly. It only takes a few minutes and can save you from major headaches later.