
Re.rockspace.local is the web based panel to configure Rock Space WiFi extenders and access default settings at http://re.rockspace.local or 192.168.0.254.
How to setup Rock Space WiFi extender?
- To extend your WiFi network, first plug the Rock Space extender into a power outlet.
- Connect to the “rockspace_EXT” WiFi network from your device.
- Open a browser and enter http://re.rockspace.local or 192.168.0.254 in the address bar.
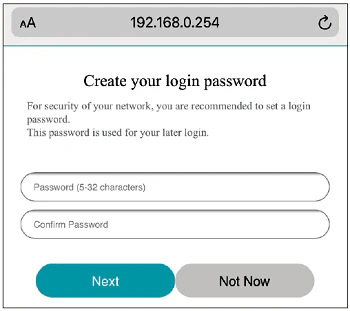
- Create your login password for future access.

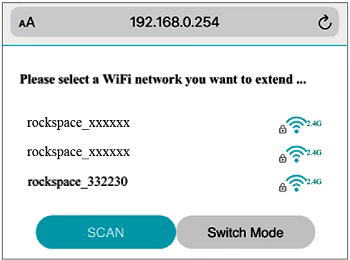
- Select a Wi-Fi Network (SSID) you want to extend.

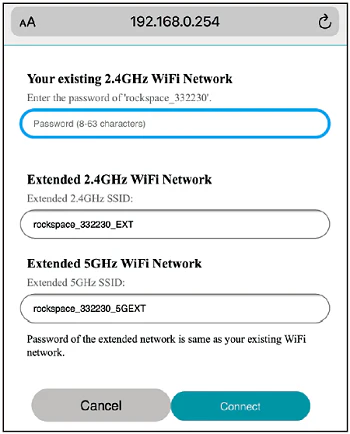
- Enter the password of your existing WiFi network and click Extend. (Password of the extended network remains the same as your existing WiFi network.)

- Once the setup is completed, it will display “Extended successfully!”
- You can now connect to the extended WiFi network.
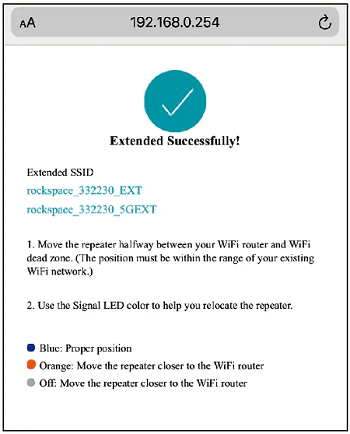
Tip: For optimal performance, place the extender into a power outlet halfway between the router and WiFi dead zone.
How to change WiFi password and SSID
There are two methods to change your Rock Space router’s Wi-Fi name and password: via the mobile app or via web page.
Method 1: Via Mobile App
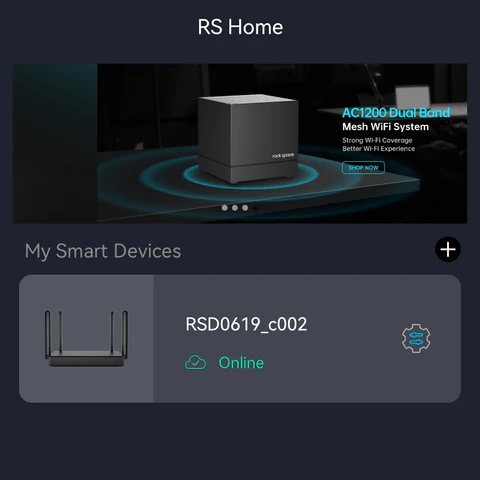
- Open the ROCK WIFI app (for AX1800 Wi-Fi 6 Router) or RS WiFi app (for AC2100 Wi-Fi Router) and log in.

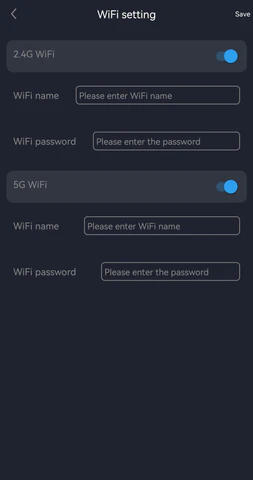
- Navigate to More Settings > WiFi Setting.

- Change the wireless network name (SSID) and password as desired.
- Save the changes to apply new settings.
Method 2: Via Web Page
Change Extended Network Name (SSID) for Extenders:
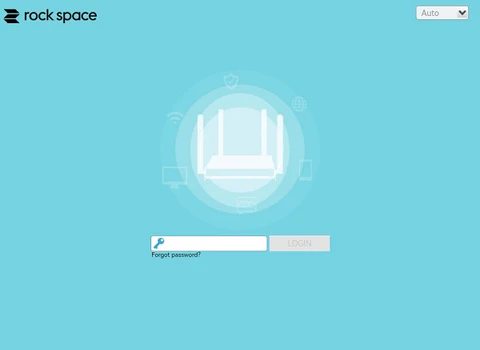
- Login to the extender management interface at http://re.rockspace.local.

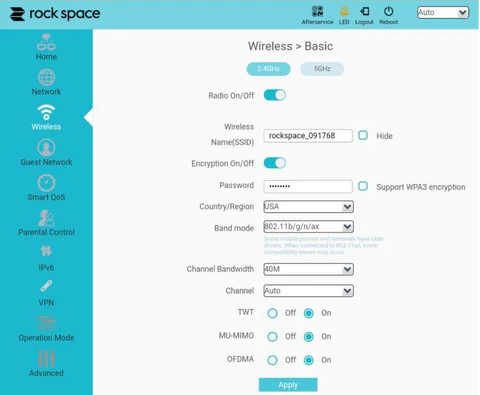
- Navigate to Wireless > Basic.

- Locate the Wireless Name(SSID) field.
- Enter your preferred extended network name.
- Click Apply to confirm changes.
Change Extended Network Password for Extenders:
- Login to the extender management interface at http://re.rockspace.local.
- Navigate to Wireless > Basic.
- Enter your new password in the Password field.
- Click Apply to implement the new password.